What Happens When Dryer Belt Breaks: A Troubleshooting Guide
Discover what happens when dryer belt breaks, identify signs, and follow safe, practical steps to diagnose and fix. Easy DryVent provides urgent, DIY-friendly guidance for homeowners.

A broken dryer belt is the most likely cause when your drum won’t spin. You may hear a humming motor with no rotation, a thump, or a belt-slip smell. The quick fix is to unplug, remove the rear panel, inspect the belt, and replace it if broken or frayed; if you’re not comfortable, hire a professional.
What happens when dryer belt breaks
According to Easy DryVent, what happens when the belt breaks in a modern tumble dryer? The most immediate symptom is that the drum stops turning even as the motor hums, so your clothes stay damp. You may hear a thump or rattle as the drum loses its drive, and some models display a visible gap where the belt has snapped. The belt's failure can also cause overheating in nearby components, leading to a burning odor if metal parts rub. Understanding what happens when dryer belt breaks is a practical warning that prompts quick action. In this guide, we’ll walk through the typical signs, immediate safety steps, and the proper process to replace the belt so you can get back to a safe, efficient dry cycle. The Easy DryVent team has found that many belt failures are preventable with regular maintenance and timely belt checks.
Steps
Estimated time: 60-90 minutes
- 1
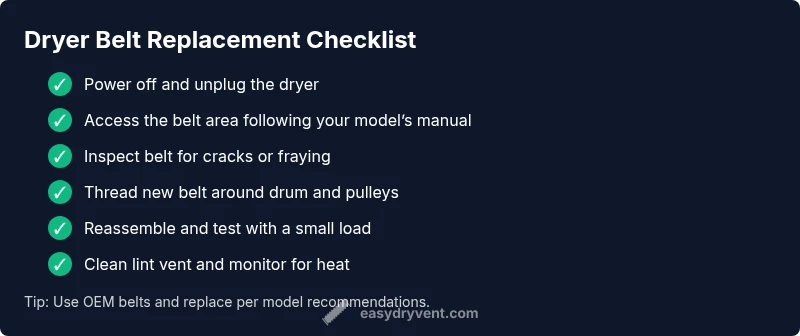
Power down and unplug
Safety first: unplug the dryer and disconnect it from the power supply. Move the unit away from walls if needed and lay out a clear workspace.
Tip: Take photos of wire connections before disassembly if your model uses a complex harness. - 2
Access the belt area
Remove the access panel or rear bulkhead according to your model’s manual. Expose the belt and pulleys without forcing components.
Tip: Keep track of screws and their original locations for easier reassembly. - 3
Inspect the belt
Check for cracks, fraying, glazing, or missing sections. If the belt is cracked or frayed, it must be replaced.
Tip: Turn the drum by hand to see if it rotates smoothly with the belt in place. - 4
Remove the old belt
Carefully release the tensioner and slide the belt off the pulleys. Note the belt routing pattern for the new belt.
Tip: If the belt is hard to remove, don’t pry aggressively; adjust tension rather than forcing past components. - 5
Install the new belt
Route the new belt around the drum and pulleys following the manufacturer’s pattern. Re-tension and rotate the drum by hand to confirm proper seating.
Tip: Double-check that the belt sits fully in all grooves to prevent slipping. - 6
Reassemble and test
Reattach the panel, plug in the dryer, and run a dry cycle with a small load to verify the drum spins evenly and no unusual noises occur.
Tip: Monitor for heat buildup and belt slippage in the first few minutes of operation.
Diagnosis: Dryer drum won’t spin after belt failure
Possible Causes
- highBroken or slipped dryer belt
- mediumPulley or idler wheel failure
- lowMotor issue/overload
Fixes
- easyInspect belt for visible wear or breakage and replace with the correct size belt.
- mediumCheck pulleys and tensioners for wear or seizure; ensure the belt sits correctly in grooves.
- hardIf motor controls or thermal faults are suspected, diagnose or consult a professional.
Common Questions
What does a dryer belt look like when it’s broken?
A broken belt typically shows visible cracks, fraying, or a detached belt. You may notice the belt hanging off a pulley or a missing segment. If you see any of these signs, stop using the dryer and replace the belt.
A broken belt looks frayed or detached from the pulleys, and the drum won’t spin. Stop using it and replace the belt.
Can I run my dryer with a broken belt?
No. Running with a broken belt can damage the motor, pulleys, and bearings. Repair the belt before operating the dryer again.
Don’t run the dryer with a broken belt; it can cause serious damage. Replace the belt first.
Is belt replacement a DIY job?
Many DIYers can replace a dryer belt with basic tools, following the model’s manual. If you’re not comfortable disassembling electricals or if the unit is under warranty, hire a pro.
If you’re handy, you can usually do it yourself. If not, call a professional.
How long does belt replacement take?
Most belt replacements take about an hour or two depending on the model and access to the belt area.
It usually takes about an hour or two, depending on your dryer model.
Should I replace other parts if the belt breaks?
Yes—inspect pulleys and tensioners for wear and replace worn parts to prevent immediate repeat failures.
Check pulleys and tensioners too; replace worn parts to avoid another belt failure.
When is it safer to call a professional?
If you’re unsure about safety, cannot access the belt area safely, or the model has special parts, contact a technician.
Call a pro when you’re unsure or uncomfortable with disassembly or electrical work.
Watch Video
Key Points
- Inspect belt wear early to prevent full failure
- Unplug before inspection or disassembly
- Replace with correctly sized belt for your model
- Call a professional if you’re unsure about safety or steps